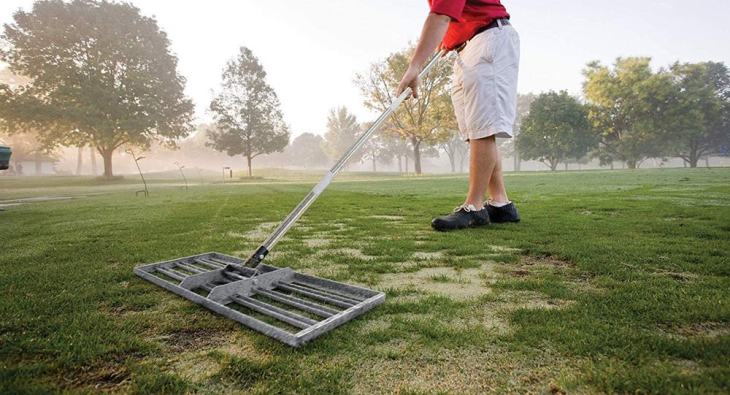
Do you have a backyard with unused space and want to do gardening there? The very first thing to do is prepare your ground for that. You need to know how to level uneven ground like a professional. This is not only for gardening purposes, but you can also use the garden to make a small backyard playground, pool, shade, or patio.
Professional help is sometimes needed if you do not have the technical know-how. Still, sometimes you can do it yourself with a small amount of research and the right tool. We are now discussing how you can make this happen all by yourself.
Why Do You Need to Level Your Ground?
The first step is to determine why you need to level your backyard and what you will create there. The primary goal is aesthetic beauty, plus making the unused ground useful to you and your family. You can build a garden, a small playhouse, a practice area for your kids, to make a home pool, etc.
Whatever your reason is, leveling uneven ground should be helpful to you. It will give you the chance to better manage your property, improve the water drainage system, and if you are going to build a garden, fresh vegetables are a bonus.
A Few Tools You Need to Level Uneven Grounds
- Measuring tape
- Strings
- Hammer
- Spade with pointed or flat head
- Shovel
- A laser level
- Wheelbarrow or bucket
The 10 Steps to Level an Uneven Ground
01. Identify the top areas of your backyard which need to be chopped down. Put markers with stakes there. Use strings if you need to mark a larger area.

02. Now you need to measure how much soil you want to remove. So, you need to use the measuring tape or laser leveler to determine the perfect level. You can use a manual level with bubble views to adjust the ground level too. But, using an automatic leveler will save your time.

03. Adjusting the grade of the ground is a must. A standard procedure is to adjust the grade of the land by 1 inch after every 4 feet. This helps to drain the water easily from your home. So, the ground will get lower by 1 inch after every 4 feet from your home wall.

04. If you are trying to level a large area, then removing the grass totally is a great idea. You can spread the soil later as needed. Use Shovel and spade where it is necessary.

05. When you have removed the bumps and hills from your ground, it’s now time to cover it with a fertile soil mix of sand, soil, manure/fertilizer. This mixture will depend on what you are going to build afterward.

06. Spread this top mixing soil material evenly. Use the leveler to measure the level after spreading. You can use a garden rake for this purpose.

07. Next, you need to give the soil time to settle for a few days. You can use a spade or foot for the smaller ground to tamp the soil; use a ground roller or tamper or plate compactor to tamp a larger area.

08. Mist the soil a bit to encourage grass and other plant growth. If you are going to introduce the area with grass again, spread the grass seed evenly all over the place and then add a sprinkle of topsoil over the seeds.

09. To encourage seed growth, you need to wait and water the area regularly, at least 3-4 times a day.

10. If necessary, you can reseed any area.
Leveling a ground is not rocket science; anyone can do it with the proper tools. All you need to give is time and manual labor. If you have a larger area to cover, it is better to approach professional help. To level, a smaller space in the backyard is a fun DIY project.


